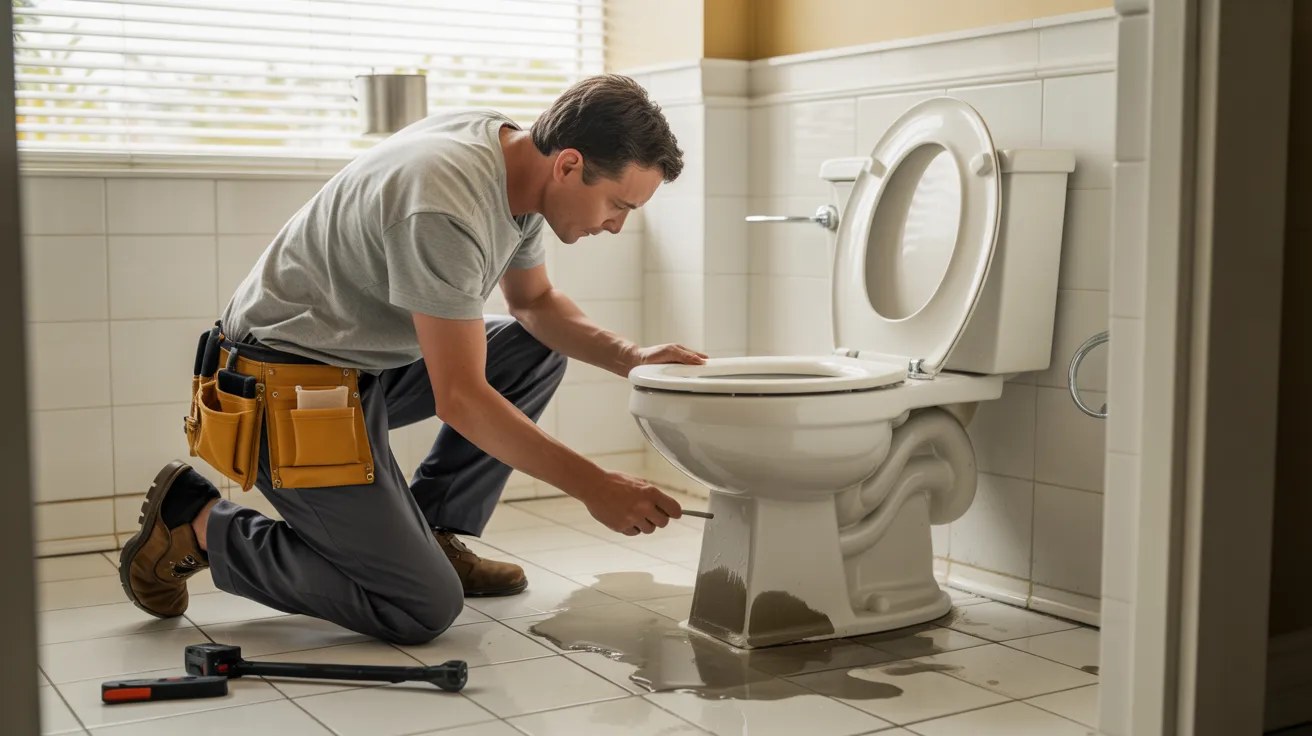
Replacing a toilet is a doable DIY job. This step-by-step guide covers removing the old toilet, setting the wax ring, leveling, and avoiding leaks and rocking.
Replacing a toilet sounds intimidating, but it's one of the most approachable plumbing projects a homeowner can take on — no soldering, no cutting pipe, just disconnect, lift, and reset. A new toilet also pays off: modern high-efficiency models use a fraction of the water of an old one, and a wobbly, constantly-running, or stained toilet is an easy upgrade that makes the whole bathroom feel newer.
Here's the full process, including the two things first-timers get wrong: the wax ring and leveling the bowl so it never rocks.
Tools and materials
- New toilet (and check the rough-in — the distance from the wall to the center of the floor bolts, usually 12 inches)
- New wax ring (or a wax-free seal) and new closet bolts
- Adjustable wrench, channel-lock pliers, and a putty knife
- A new flexible supply line and a shut-off valve if the old one is corroded
- Shims, a level, a sponge, a bucket, towels, and rubber gloves
Step 1: Turn off the water and drain the toilet
- Close the shut-off valve behind the toilet, then flush and hold the handle to drain the tank.
- Sponge out the remaining water in the tank and bowl into a bucket — the more you remove now, the cleaner the removal.
- Disconnect the supply line from the bottom of the tank.
Step 2: Remove the old toilet
- Pop the caps off the floor bolts and remove the nuts. If they're rusted, a little penetrating oil or a hacksaw blade gets them off.
- Gently rock the bowl side to side to break the wax seal, then lift the toilet straight up and set it on an old towel or in the tub.
- Stuff a rag in the open drain (the closet flange) to block sewer gas, and scrape the old wax off the flange with a putty knife until it's clean.
Step 3: Inspect the flange
This is the moment to check what's under the toilet. The closet flange should sit on top of the finished floor and be intact. In older Tampa homes you sometimes find a cracked flange, a flange that's now below floor level after new tile went in, or soft, water-stained subfloor from a slow leak. A solid, properly-positioned flange is the foundation of a leak-free toilet — if it's cracked, corroded, or too low, fix it before going further (a flange repair ring or extender handles most cases).
Step 4: Set the new bolts and wax ring
- Drop the new closet bolts into the flange slots and slide them to the 3 and 9 o'clock positions; a little plumber's putty or the bolt caps hold them upright.
- Set the new wax ring. You can press it onto the bottom of the toilet's outlet (the horn) or onto the flange — either works; just don't use two rings or reuse the old one.
- Remove the rag from the drain right before you set the bowl.
Step 5: Set the toilet
- Lift the toilet and lower it straight down so the bolts come up through the holes in the base — line it up before it touches, because you only get one clean shot at the wax.
- Once it's seated, press down firmly with your weight to compress the wax ring and seat the bowl to the floor. Don't rock it side to side.
- Add the washers and nuts and tighten them a little at a time, alternating sides. Snug only — overtightening cracks the porcelain.
Step 6: Level it and stop the rock
Check the bowl with a level and try to wobble it. A toilet that rocks will eventually break the wax seal and leak. If it rocks, slide thin shims under the low side until it's solid, then trim the shims flush. Once it's stable and level, cap the bolts.
Step 7: Connect water and test
- Attach the new supply line to the tank and the valve — hand-tight plus a small turn with a wrench.
- Open the shut-off, let the tank fill, and flush several times while watching the base and the supply connection for any water.
- Check again after a few flushes and an hour later. No water at the base means a good seal.
Step 8: Caulk the base
Run a bead of caulk around the base of the toilet, leaving a small gap at the very back. The gap lets you spot a future leak instead of trapping water under the bowl, while the caulk keeps mop water and humidity from collecting under the toilet — which matters in a damp Florida bathroom. (Caulking the base is also required by plumbing code.)
When to call a pro
- The closet flange is cracked, corroded, or sits below the finished floor and needs to be repaired or rebuilt.
- You find soft, rotted subfloor or signs of a long-term leak around the toilet.
- The shut-off valve is frozen or leaking and needs replacement.
- The toilet keeps rocking or leaking after a careful reset — that points to a flange or floor issue worth a pro's eyes.
New toilet running or won't stop filling? Here's the fix: How to Fix a Running Toilet
Seeing water at the base? Diagnose it before it spreads: Why Is My Toilet Leaking From the Bottom?
Tackling other small plumbing fixes? Start here: How to Fix a Leaky Faucet
Rather not deal with the wax ring? See our toilet installation service: Toilet Installation in Tampa
Frequently asked questions
- Is it hard to replace a toilet yourself?
- It's one of the most DIY-friendly plumbing jobs — no pipe cutting or soldering, just disconnect, lift the old toilet, set a new wax ring, and lower the new bowl. The two things to get right are seating the wax ring in one clean motion and shimming the base so the toilet never rocks. Most homeowners finish in 1–2 hours.
- Do you need a new wax ring when replacing a toilet?
- Yes — always use a new wax ring. Never reuse the old one, and don't stack two rings to fill a gap. A fresh wax ring (or a wax-free seal) is what keeps the connection between the toilet and the drain watertight. Scrape the old wax fully off the flange before setting the new ring.
- Why does my toilet rock back and forth?
- A rocking toilet usually means the floor is uneven or the flange sits a bit low, so the bowl isn't fully supported. Slide thin shims under the low side until it's solid, then trim them flush and caulk the base. Don't ignore it — a rocking toilet eventually breaks the wax seal and leaks at the base.
- Should you caulk around the base of a toilet?
- Yes, and most plumbing codes require it. Caulk the base but leave a small gap at the very back, so a future leak shows itself instead of being trapped underneath. The caulk keeps mop water and humidity from collecting under the bowl, which matters in damp Florida bathrooms, and it stabilizes the toilet.
- What is a toilet rough-in measurement?
- The rough-in is the distance from the finished wall to the center of the floor bolts (the drain) — most commonly 12 inches, but some homes are 10 or 14. Measure it before buying a new toilet so the bowl fits the existing drain location. The wrong rough-in means the toilet won't sit correctly against the wall.
Want a new toilet installed and sealed right — no leaks, no rocking — in your Tampa home? Call or text (786) 509-5555 for a free quote. Get a toilet install quote.
Bathroom Remodeling in Tampa, FL
Done-for-you by an insured local crew — free quotes, same-week scheduling.
Need a hand with this in Tampa?
Get a free quote from a 4.8★ local crew. We answer fast and show up on time.
We handle this kind of work across Tampa Bay — including handyman service in Safety Harbor, handyman service in Largo, handyman service in Bloomingdale and handyman service in FishHawk. See all service areas.